Introduction to Mounting a Rooftop Tent
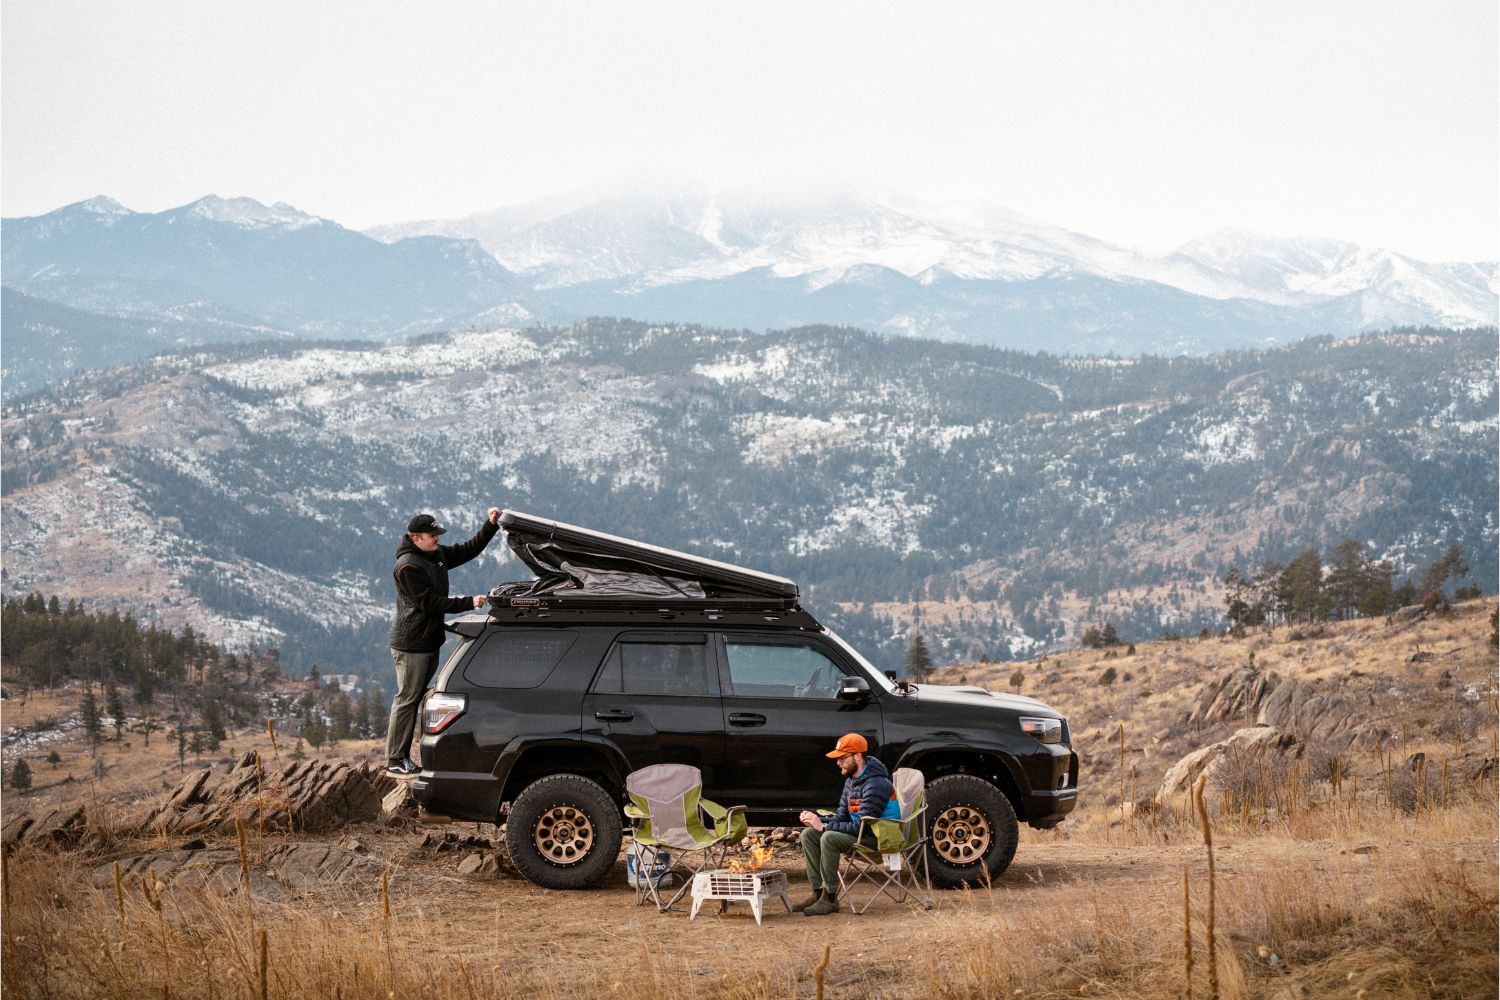
Mounting a rooftop tent to a Sherpa rack is a breeze. There are a few ways you can accomplish this but we are going to show you our recommended method. This will be the most secure way. Additionally, it will help to reduce any rattles or vibrations and allows for quick removal when you want to change out the gear on your rack.
Mounting your tent
What you'll need.
- A Sherpa Rack
- The Tent
- The included mounting hardware w/ the tent
- Sherpa Tent Mounts (Short or Tall)
- 7/16 Wrench
- 13mm Wrench
- 5/32" Allen Key
- Tape Measure
1. Find your crossbar Placement
To start, place your rooftop tent on the roof rack without the mounts or mounting hardware installed. Once set on the roof, adjust the tent to the location on the rack you desire. Now, using tape or something similar, mark the location of where the crossbars you want to connect the rooftop tent are located. We recommend mounting 3 crossbars evenly spaced on the tent. The closer to the roof rack mounting points the better.

2. Attaching your rooftop tent to the crossbars
Once you have marked the rooftop tent with the crossbar location, remove the tent and place it on a table or the ground with the tracks facing up. Remove the crossbars you plan to mount the tent to from the roof rack by unscrewing the 4 socket buttons holding each in the rack. Then place the crossbars on the rooftop tent in the marked locations. Now install our Tent Mounts to the Sherpa crossbars using the included hardware with the tent mounts. If you are using 3 crossbars install 4 mounts to one crossbar and 2 mounts on the other 2. The direction of the mount's can be determined by how the crossbars are spaced and the desired load distribution. Leave the tent mounts loose enough to slide on the Sherpa crossbars.
Now install your tent hardware into the tracks on the rooftop tent and attach the single-hole side of the tent mounts to the tent rails. With everything loose, line up your crossbars with the marked locations from step 1 and use a tape measure to make sure the crossbars are square to the tent and even side to side. (note that not all rooftop tents have the tracks installed square so measure to the exterior of the tent if needed).
Once everything is square and in the desired location tighten the mounts to the tent and to the crossbars.


3. Dropping the rooftop tent into your rack
Now that everything is tight and ready to be installed on the truck we can drop it in the rack. With the help of another person (sometimes more is helpful) or using a hoist, you can drop the rooftop tent into the desired location on your rack. The crossbars will slide down between the side plates and you can line up the threaded holes on the crossbar with the slots on the rack. Once lined up you can start all your bolts. This is easier to do one crossbar at a time as well as one side at a time (take your time to not cross-thread any hardware).
Once everything is started you can do final forward and backward adjustments and then tighten everything down.

Let us show you how!


Leave a comment
This site is protected by hCaptcha and the hCaptcha Privacy Policy and Terms of Service apply.