
Access Denied
IMPORTANT! If you’re a store owner, please make sure you have Customer accounts enabled in your Store Admin, as you have customer based locks set up with EasyLockdown app. Enable Customer Accounts
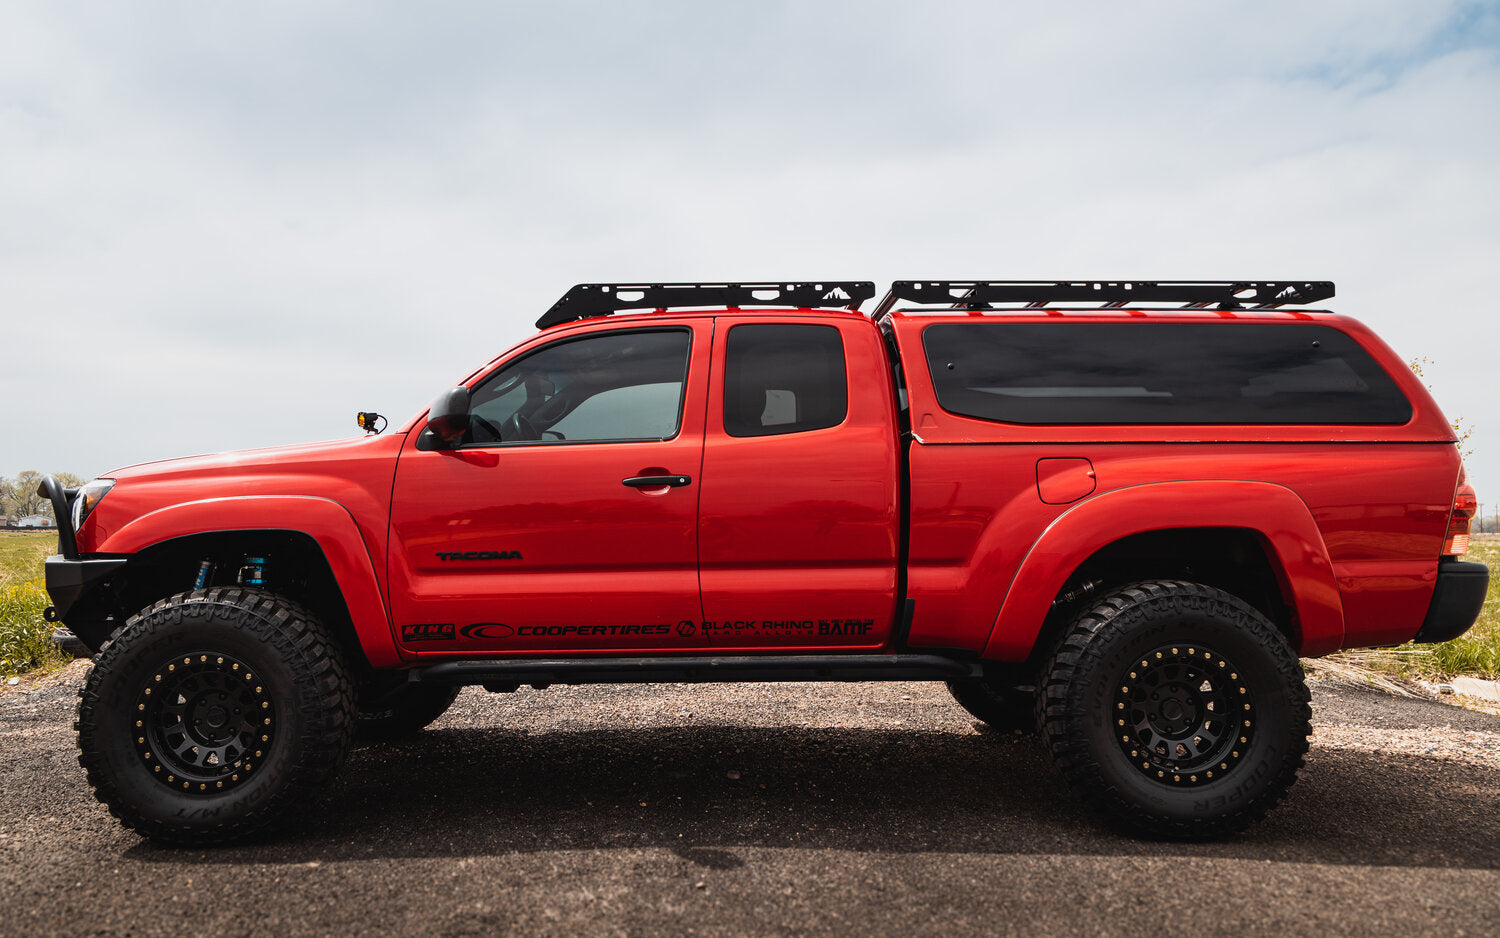
Guide to Drilling (Sherpa Drill Racks)
By Will Oliver
INTRODUCTION
We understand not everyone may feel confident drilling into the roof of a brand new vehicle to install a rack system. We created this guide in hopes that it may ease some tension and provide a clear picture of what it takes to install one of our racks that require drilling.
This Guide Pertains to the Following Vehicles:
(2005-Current) Toyota Tacoma Access Cab (Teton)
(2010-2020) Ford F150 / Raptors (Storm)

STEP 1:
Begin by pre-assembling the rack system on the floor. You will only need the two primary support crossbars and the 4 mounts for this first step. This is going to serve as your template for marking your roof holes. Make sure the crossbars and mounts are tightened correctly and located in the center of the mounting slot. Position the rack on the top of the truck with the rubber spacers. Position the rack so that the curve of the rack aligns perfectly with the curve of the vehicle.

STEP 2:
With the rack on the truck mark the position for each rubber spacer using a piece of painters tape. USE A PUNCH to create your starting points for drilling. This is important as the drill bit will want to walk away while drilling your pilot holes. The position of these holes are important to making sure that the rack fits your vehicle correctly. Measure 3 times check 4 times. We recommend removing your headliner to be sure that you do not damage anything beneath the roof of your vehicle. But, it can be done without doing so if your vehicle is not equipped with curtain airbags and you are EXTREMELY careful.

STEP 3:
Once you have your start points marked with the punch, drill a pilot hole using a 1/8” drill bit. DO NOT allow the drill bit to plunge after the hole is drilled. The side curtain airbags are located in this section of the roof. There is a decent bit of room but you want to prevent going any farther than you have to. Follow up the pilot holes with a 7/16” drill bit. It is important to use a 7/16” drill bit to insure proper jack nut fitment. Also make sure to keep the drill bit as still as possible while drilling. AGAIN DO NOT allow the drill bit to plunge after the hole is drilled.


STEP 4:
Once all of your holes have been drilled it is time to work on installing the jack nuts that the rack will bolt into. We recommend taking the time to clean off any burs that may have been left behind while drilling. The jack nuts should feel snug in the hole. They will require a light tap to get them to pop into place. Once this is done you are ready to compress them.


STEP 5:
We recommend using an actual Rivnut install tool for this part of the process. IF you do not have access to one of these tools, you can use one of the mounting bolts and the metal spacer sleeve paired with a washer to accomplish the same result.
Use your install tool and thread it into the nuts in the roof. Once you are threaded begin compressing the handle. Make sure that they are tight and that there is no play in the nut.

STEP 6:
Once the rivnuts have been installed place a small dot of silicone. This will help prevent any potential leaking issues in the event that the rubber does not seal the rivnut.


STEP 7:
Now install your mounting brackets using the mounting bolts and bonded washers. Align the rubber spacer and mount over the rivnuts and slide the bolts through. We recommend leaving all of the mounts a little loose until they are all installed. Once they are all in tighten them until the rubber washer starts to slightly expand. Do not over-tighten and deform the washer.
Once that is completed you can trim your factory edge trim to provide a clean look in between the mounting brackets.

STEP 8:
Once the mounting brackets have been installed you can position the main crossmembers. Use a tape measure and insure that they are centered on the vehicle before proceeding.

STEP 9:
Once the main crossmembers are installed and centered you can continue with the rest of the install. Start with the side profiles for the rack and match them to the curve of the vehicle. Then install your wind fairing assembly and position it to fit the vehicle. Once completed continue installing all of the remaining crossbars and positioning as needed to fit your application.

STEP 10:
Once the rack is all assembled give all of the bolts a once over. All of the hardware should be snug but not overtightened. Then you are on to your next adventure. We recommend checking your rack system after the first 100 miles or so to insure that everything is tight and as it should be.
INSTALL QUESTIONS?
Contact a member of our team or reach us online:
970.660.8134
Reading next

Mar 2, 2021
Will Oliver

Mar 25, 2021
Alex Fleming
Invalid password
Enter
Leave a comment
This site is protected by hCaptcha and the hCaptcha Privacy Policy and Terms of Service apply.