

Why do I need an awning?
Whether escaping the heat, sheltering from the rain, or just catching a bit of shade, awnings provide you with the coverage necessary for every situation. Under an awning, you can cook, you can read, you can nap, you can...well you can do anything really! We're just here to make sure that mounting it is as worry-free as possible, and our Standard or Heavy Duty (HD) mounts help to do just that.
Let's talk about it.
What type of awning should I buy?
There are three main sizes of awnings: 90° (straight-pull), 180°, and 270°. Let's go into a bit more detail about which one you may need.
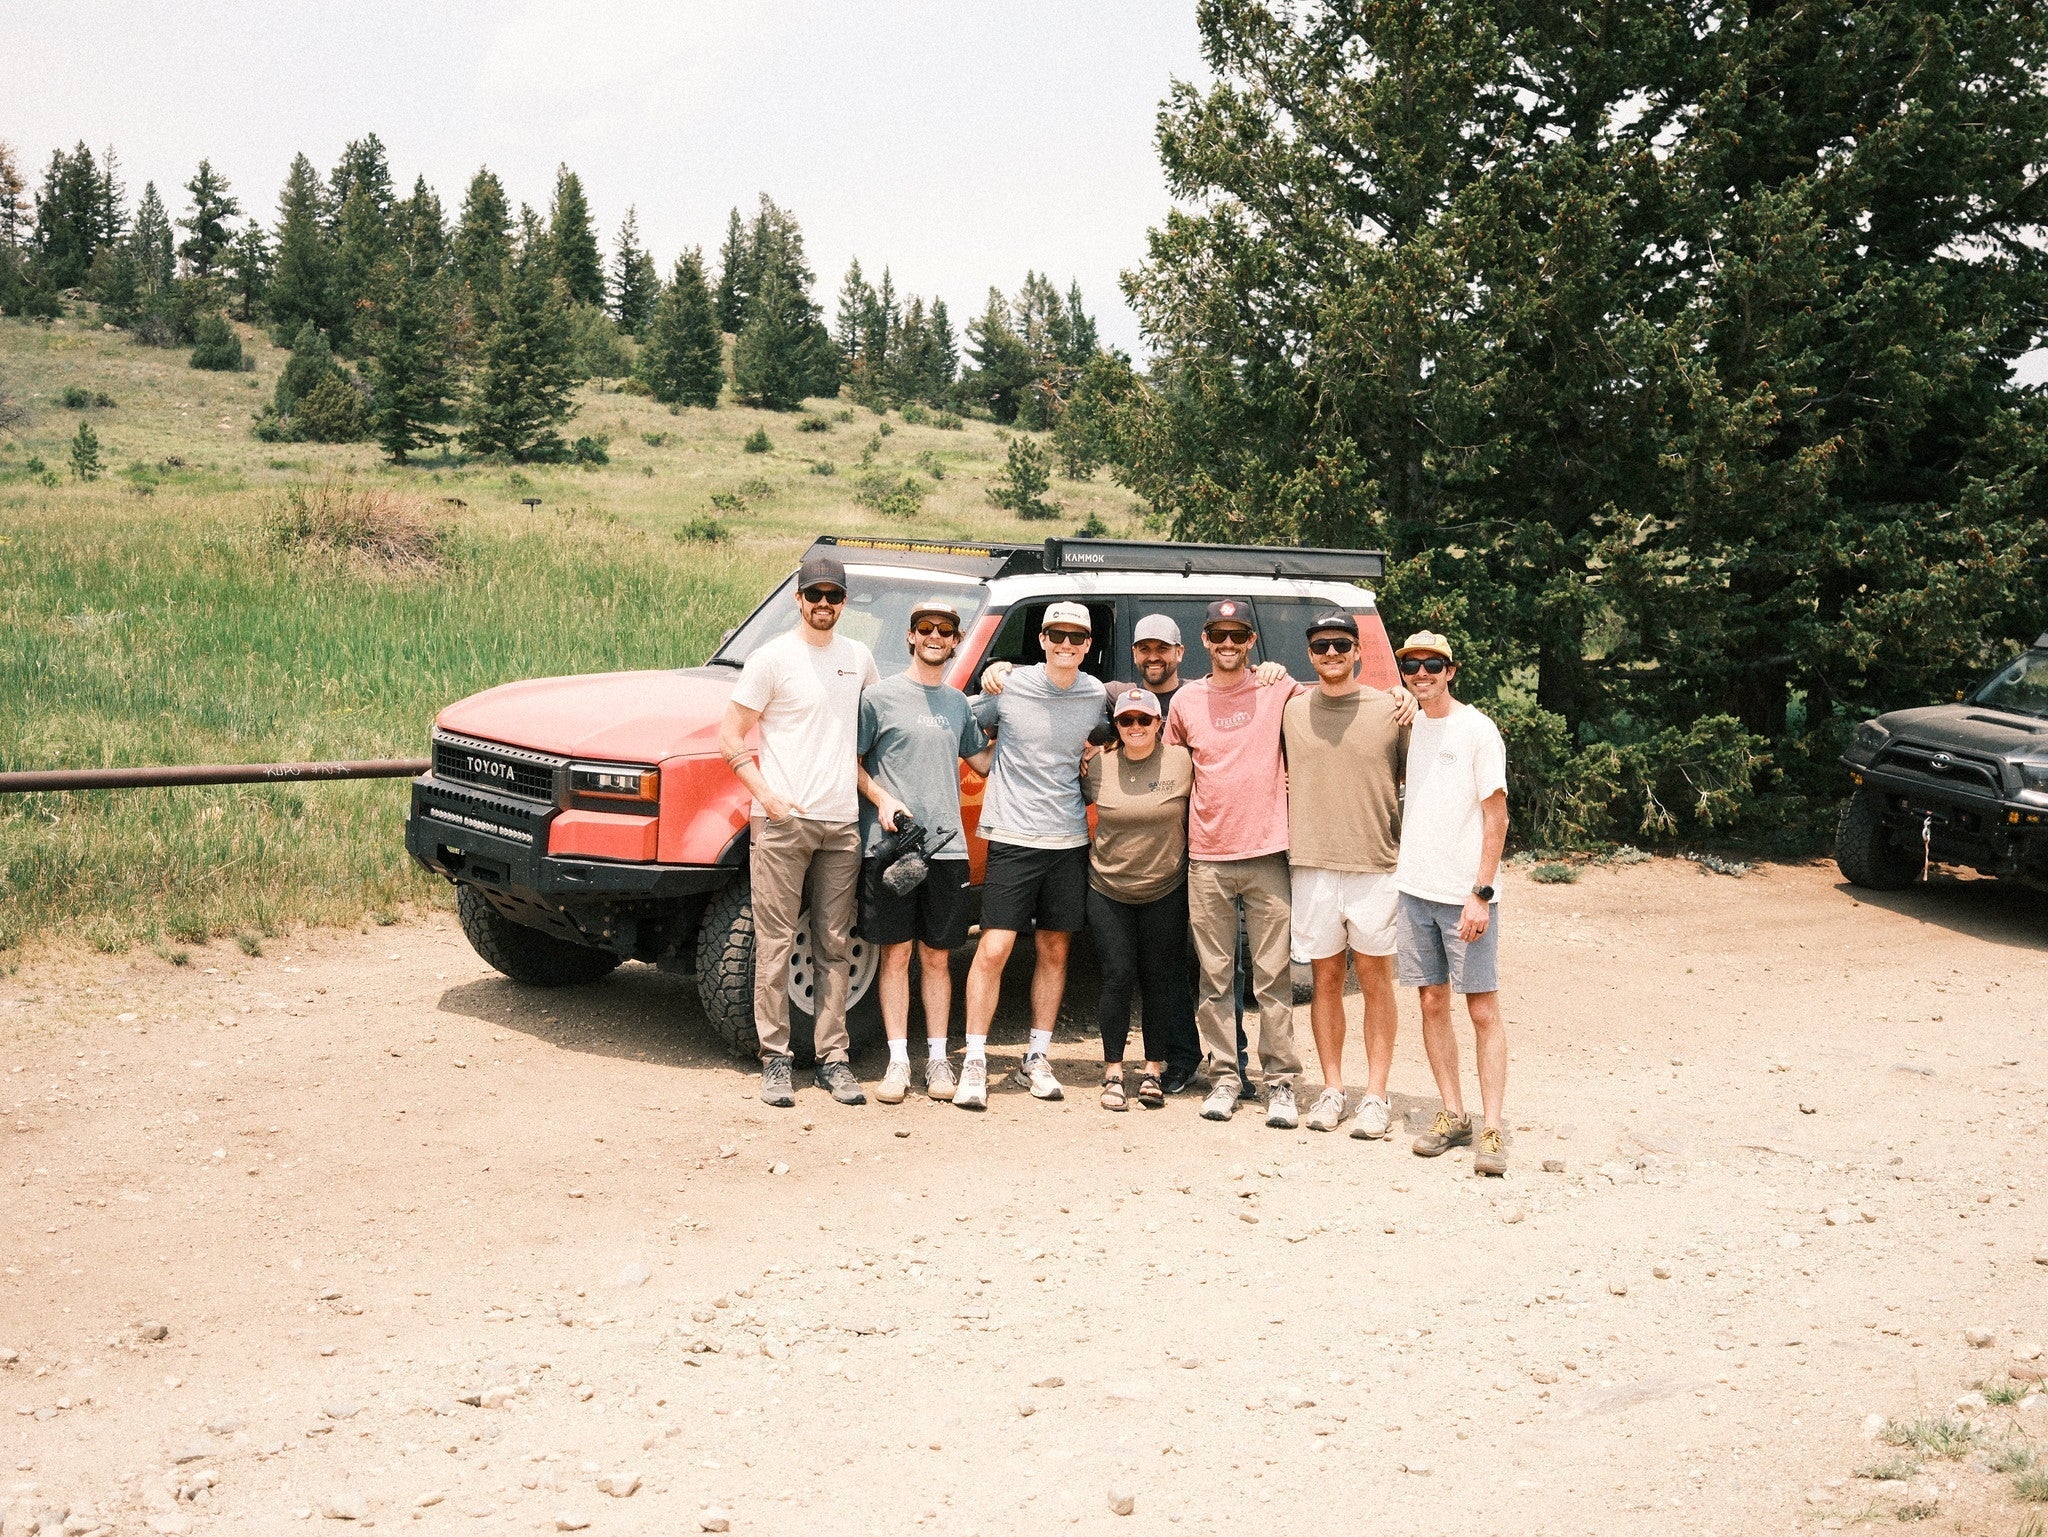
90-Degree (Straight-Pull): Commonly referred to as "straight-pull" awnings, these come out directly from the side of your vehicle. These typically stand on two support poles, and can be pretty minimal, rolling right up into their case. These are perfect for a minimal / lightweight setup, or for solo travelers! Throw out a folding chair and a cooler, and you've got a great evening ahead of you. You can find two different 90° options on our site: the ROAM Standard and the Kammok Crosswing.
180-Degree: These ones are a bit larger, and extend beyond just the side. Generally, hinged support arms will allow the awning to swing out toward the rear of the vehicle. These are typically a bit heavier than a 90°, and will require some heavier duty mounts. These are great if you've got a trunk storage / kitchen setup. Put up a folding table and bring the chef's experience right to camp!
270-Degree: These are the grand slam, wrapping around both the side and the rear of the vehicle. They will most often come with support poles, and are typically much heavier than the 90° and 180° alternatives. These will also require some heavier duty mounts as well. These are where we see folks most frequently tacking on an additional mount for increased stability. We'd recommend this large of a model for kitted-out overlanding setups, full-size wagons, or for group camping where you want to put your whole crew under one roof.
A note on different awning brands: Our mounts can accommodate nearly all awnings on the market. As long as your awning has a track system on the back, then it should be compatible with our mounts. When making your purchase, there are many things to consider, such as budget, shade needs, brand reputation, weight, and more. The "right" awning will be different for everyone.
Which mount do I need?
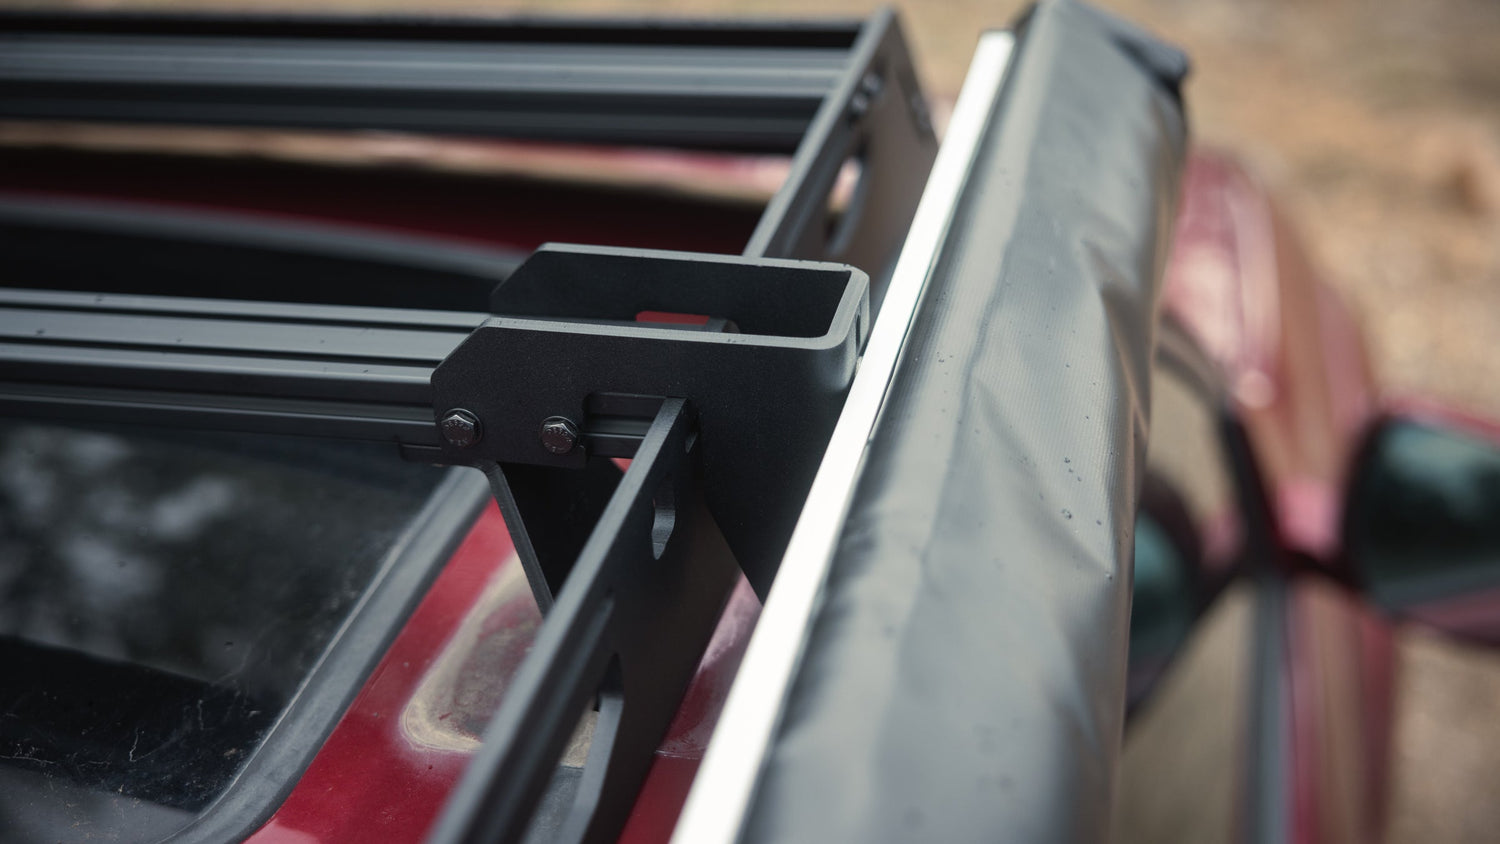
Generally speaking, choosing your mount type boils down to the awning itself. Our Standard Mount is designed to fit most 90° awnings, and is suitable for mounting in conjunction with other large accessories (ex: rooftop tents). The standard mount features a low profile and smaller mounting face, making it the perfect mount for almost any 90° awning! Our Standard Mounts come in a pair.
The HD Mount, on the other hand, is the mount you'll need for 180° and 270° models. In additional to it's additional strength, our HD Mount is designed with a larger mounting face to accommodate bigger awnings. An important consideration when choosing to buy an HD Mount is the limitation that the greater mounting height may have on additional accessories. If you are using a rooftop tent in conjunction with your HD mount, you'll need to confirm the tent won't interfere with the awning mount. Our HD mounts are sold individually. While only 2 are required for most awnings, 3 can be used for additional strength.
*Standard Mount pictured on the left, HD Mount pictured on the right.


Attaching Your Awning Mount
Below you will find a three step instructional for how you can install our HD Mount onto your sideplate and awning.
STEP ONE
Start by inserting two t-nuts into the side slots of your crossbar. Then secure the mount to the cross bar using the two 9/16” hex head bolts. Leave the bolts loose so that it's easier to install the socket button screws.

STEP TWO
Insert the socket button screws with washers into the sideplate, as shown in the diagram. Ensure you've included a washer on either side of the sideplate before tightening. Once complete, tighten the socket button screws and the hex head screws previously installed.

STEP THREE
Hold the awning up to the mount and determine the desired height. Using the hardware provided by the awning manufacturer, fasten the awning to the mount. Pictured to the right is a commonly seen configuration, where the manufacturer will provide track bolts that slide into the ends of the aluminum extrusion on the inside of the awning.

Your mount should arrive with all of the necessary hardware included: hex head bolts, socket buttons (HD), washers, t-nuts, and nylock nuts (HD). The hardware needed to bolt the awning to the mount should be included with your awning, and does not come with the Sherpa Mounts. If you have any questions about mounting your awning, feel free to reach out to info@sherpaec.com - our customer service team is happy to get you taken care of!
*Please note: the Standard Mount does attach to our racks a little differently. The primary difference is that the Standard Mount does not contain the wings through which you would feed a socket button screw into the sideplate. Instead, the Standard Mount will just be attached to the crossbar with the hex head bolts and t-nuts, and then to the awning itself using the provided hardware. Nevertheless, the images above provide a comprehensive description of what you can expect when attaching your mounts.
Awning & Mounting Essentials
Conclusion
Awnings are a very worthwhile addition to your setup, and our mounts make it easier than ever to integrate it all together with your roof rack. Knowing which mount to choose is essential, so if you ever have any further questions, never hesitate to reach out to our Customer Service team at info@sherpaec.com, or give us a call at 970-660-8134.



Leave a comment
This site is protected by hCaptcha and the hCaptcha Privacy Policy and Terms of Service apply.